Knowing when to stop cooking ribs is one of the most important aspects of making them perfectly at home. Low temps are undoubtedly the best for cooking ribs. But the question of how to tell when ribs are done remains. Ribs are prepared at 195F° mainly. However, there are a few ways to determine its doneness without slicing the ribs. Please continue reading to learn the various approaches; our guide explains all you need to know and shows you how to know when ribs are done.
It’s frequently disputed what “done” actually entails. The rib is cooked when the tough connective tissue and fat have broken down to the point that it is tender and flavorful. The ribs are exquisitely sensitive and are generally tender at 145°F/63°C. After cooking, ribs are malleable but do not crumble. Hold the rack with a pair of tongs from the end to check. The other end should slant downward, and the crust may start to fracture.
How to Know When Ribs Are Done
The best six ways to determine whether your ribs are done are listed below.
1. Bend testing
Also known as the “bounce test”. Use your grill tongs to pick up a rib in the middle of your slab to see whether it passes the “bend test” for doneness. It would help if you watched closely to see whether the surface of the flesh begins to fracture. Ideally, the meat should start to break as soon as you raise your slab, and then with a slight bounce, it should break through. Give your ribs a little bit longer if you don’t experience the sensation or if there is simply a slight fracture.
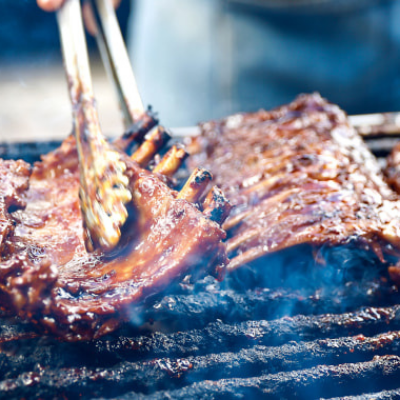
2. The twist test
Remove the ribs from the grill, then take care to avoid getting burned; grasp a bone tip exposed in the middle of the slab. If your ribs are done, twist this bone; it should begin to separate from the meat. Remember that if you twist too forcefully, your ribs might not be done. Therefore, be careful to twist slowly and attempt to feel how the meat separates from the bone.
Best Charcoal Grill Under 100$
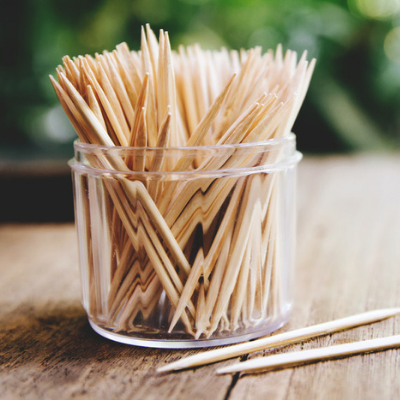
3. The toothpick test
We suggest using the toothpick test to determine how thoroughly cooked your ribs are throughout the rack. The toothpick test is easy to perform. Just stick a toothpick into the meatier parts of your rack. Your rack is finished if it slips into the meat without resistance. Test several areas of your slab to ensure it is finished exactly how you like it. To ensure that the ribs are cooked and flavorful, experiment with the cooking times for various cuts of meat.
4. The peek-a-boo test:
Slice off a small amount of rib and check the color inside. This type of visual evaluation is frequently referred to as the Peek-a-Boo Test. Open the smoker’s door and get a good look at the ribs. To check whether the color is uniform, slice a piece of the thickest meat. When finished, the meat should be white or tan with a thin layer of pink flesh underneath.
5. Testing visually
The ribs should be ready if the meat is white at the borders and tan in the middle. If the pork has any pink spots, it is still rare to medium rare. Pink dots typically imply blood spots. The meat around the margins of smoked pig ribs will remain pink even after being thoroughly cooked.
6. Taste test
The simplest way to tell if a rib is done is to taste a little piece of the meat. Check to guarantee the color is uniform by cutting a slice from the thickest part of the meat. To finish, there must be a thin layer of pink flesh beneath the surface and white or tan meat in the center.
How long does it take to cook ribs?
It depends. No one can tell you the exact cooking time for all grills and racks. But suppose you’re looking for a rough estimate. In that case, experts say 4 to 7 hours, depending on the thickness of the rack, the temperature at which you’re cooking, and other external variables like humidity and ventilation.
- Experts advise cooking your ribs slowly and at a temperature of around 220-225°F. You must alter your cooking periods if you cook at a lower or higher temperature.
- St. Louis cut and spare ribs are thicker, meatier cuts that typically require five to seven hours to prepare. You’re looking at a cooking time of three to five hours for smaller baby back ribs.
- Your slab will take longer than a less meaty slab because they are thicker and have more flesh, as you might anticipate. Expect to be cooking closer to the top of the recommended cooking time if yours is a chunky one with a lot of meat on it.
- If you’re cooking for a large group and filling your grill with racks in rib holders, you should plan an additional hour of cooking time.
- Cooking at high altitudes requires about a 25% longer cooking time.
It’s preferable to have the ribs barely underdone before this point since once you hit the time limit, you might want to sauce them and sear them over a high fire. Keep a tight eye on the ribs when sautéing them to prevent burning. You might need to cook it for another 30 minutes at 220 degrees if you don’t want to cook yours. Use one of the following techniques to check your ribs when you believe they are finished cooking before serving.
Conclusion
Don’t let undercooked or overdone ribs ruin your mood and barbecue. Making ribs might be simple, but determining whether they are done or not might be challenging. Assess your ribs, cook them at a temperature of about 220-225 degrees, and use one of our best ways to determine when they are done. Using our simple solutions will help you to get perfectly cooked ribs. Enjoy Ribs
Pingback: How To Smoke Sausage 6 Easy Steps - Grill Pantry
Pingback: 3 Best Ways On How To Cook Ribeye Steak? | Gordon Ramsay Method - Grill Pantry
Pingback: 6 Basic Thing | Can You Use A Grill After A Grease Fire - Grill Pantry